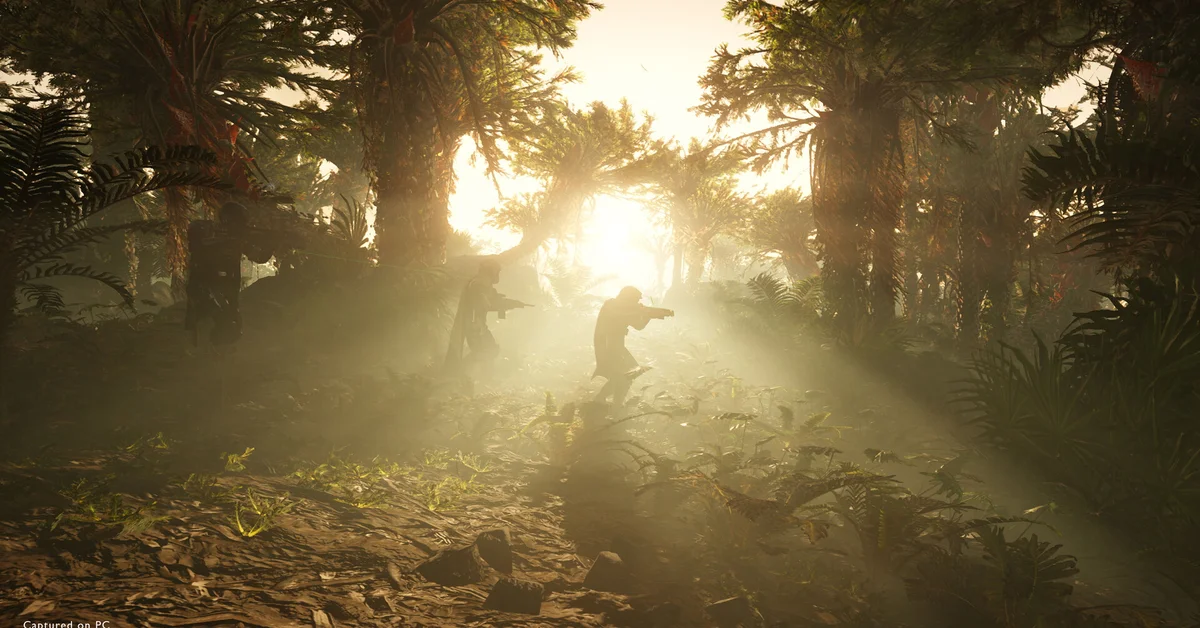
Evacuate High-Value Assets is won by keeping two power generators alive until every rocket has launched, and after Patch 7.1.0 that means holding a small compound against more waves, arriving faster, with almost no gap between them. Solo, it is a sentry and positioning exercise: prepare during the setup window, fight from the outer doors, and fall back to the inner door before a wave overruns you, not after. Below: the objective, what the last two patches changed, positioning, the buffed stratagems, solo versus squad, and faction notes.
Updated October 20, 2026: added Patch 7.2.0, which makes “minor combat balancing tweaks” to this mission without listing them, and buffs several weapons and stratagems that suit it: the Flame Sentry, the Orbital Airburst Strike, the Maxigun, the Breaching Hammer and the light-penetration shotguns.
What the mission asks you to do
Helldivers 2 frames the mission as an evacuation: rockets launch one after another from a walled compound, and two power generators feed the launch sequence. The generators are the objective: if either is destroyed the mission fails, however many rockets are already in the air. Enemies do not need to kill you; they need to reach the generators.
Per long-running player reports, the outer wall has two doors (one per enemy approach), the inner wall has a single door, and pre-placed HMG emplacements, ammo caches and support weapons sit inside. The same reports put the mission at eight rockets, roughly one every 1 minute 45 seconds, after a setup window of about 90 seconds from activating the terminal. Those are player-reported numbers, not Arrowhead’s.
Patch 7.1.0 also added a generator health percentage to the objective UI and generator state to the minimap, so check those between waves.
What Patch 7.1.0 changed
Arrowhead’s Patch 7.1.0 notes say the mission had “fallen behind in difficulty” and felt “boring and easy” for well-equipped players. The fix is a straight difficulty increase, verified against the official patch notes:
- More waves: the maximum wave count is higher.
- Shorter gaps: the gap between waves at the start of the mission drops from 60 seconds to 42, the gap at the end drops from 40 to 28, and the pause after clearing a wave drops from 10 seconds to 2.
- Bigger waves: encounter points climb more steeply through the mission and increase further with more players.
- SEAF troops can spawn when included, bug missions can spawn Shriekers, loot and weapon locations are randomized, and 10 common samples are placed around the map.
The 2-second post-clear gap matters most: clearing fast no longer buys reload time, so plan cooldowns around the wave timer, not around kills. Our Patch 7.1.0 news post covers the rest of the update, including the new enemy pressure spawn system.
What Patch 7.2.0 changed
Arrowhead’s Patch 7.2.0 notes, released October 20, 2026, list only “minor combat balancing tweaks” for Evacuate High-Value Assets, with no numbers. The 7.1.0 wave timings above are still the latest Arrowhead has published, so the plan below does not change. The rest of 7.2.0 touches this mission in three ways:
- Better tools for the doors. The light-penetration shotguns (SG-8 Punisher, SG-225 Breaker and Breaker Spray and Pray) hit about 20% harder, and several stratagems that suit a defense got buffs (next section).
- Bug missions show their strain. The strain that spawns Bile Warriors, Spewers and Scavengers is now its own strain, controlled by the Game Masters and shown when it is active, like Rupture and Spore Burst. When it is active, expect Bile Spewers at the doors.
- Settings stick. Support weapon settings such as fire mode now persist between uses and across sessions, so a re-called support weapon comes back the way you set it.
Our Patch 7.2.0 news post covers the rest of the update, including the switch to Easy Anti-Cheat.
Positioning: outer doors first, inner door last
The area is small, and the common warning that large stratagems kill teammates more often than not applies solo too. The plan is layered:
- During setup, drop sentries on raised positions covering both outer doors, away from the doorways themselves.
- Fight the early waves at the outer wall, where enemies funnel through the doors and splash damage gets full value.
- When a heavy pushes through, close the door behind you if you can and retreat to the inner door. Do not try to clear the outer ring; the generators are inside.
- Never fight beside a generator; stray fire and your own explosives damage it.
Doors open and close manually. A closed door buys time while enemies chew through it: a timer, not a wall.
Stratagems the last two patches buffed
Two 7.1.0 buffs fit this mission exactly. The Orbital Precision Strike’s cooldown dropped from 90 seconds to 80, which lines up with the shorter wave gaps: one precise shell on a Hulk, Tank or Charger in the doorway, without the Eagle 500kg’s collateral radius. The AR/GL-21 One-Two now starts with 3 underbarrel grenades instead of 2, carries 5 spares instead of 3 and refills 5 per resupply, so you can lob grenades into a doorway crowd without giving up an anti-armor support weapon.
Patch 7.2.0 adds four more worth a slot, all verified against the official notes:
- A/FLAM-40 Flame Sentry: flame damage per particle rose from 3 to 8, which Arrowhead says brings it closer to other flamethrowers. A strong pick for a doorway full of chaff on bug missions.
- Orbital Airburst Strike: cooldown cut from 100 to 90 seconds, with a tighter shrapnel pattern that Arrowhead says saturates the target area better. Call it on the approach outside an outer door, never inside the walls.
- M-1000 Maxigun: you can move the moment you release the trigger, and it staggers harder and pushes corpses aside better, per Arrowhead. Corpses piling up in a doorway are exactly the problem it now handles.
- CQC-20 Breaching Hammer: spare charges rise from 7 to 10, which makes it a more practical close-range anti-tank answer at the inner door.
Beyond those, sentries are the backbone: Gatling or Machine Gun sentries for chaff, an Autocannon or Rocket sentry for heavies, and the Shield Generator Relay against ranged fire on the inner door. Bring one anti-tank support weapon (Recoilless Rifle, Quasar Cannon or Expendable Anti-Tank). Our best loadouts guide has full kits for each faction.
Solo versus four players
The patch notes say the intent is a mission that is “more difficult to complete, especially in lobbies with 3-4 players,” and encounter points now scale with player count. Solo, waves are smaller, but you cannot cover both outer doors at once: let sentries own one door while you hold the other, and fall back earlier than feels comfortable, because one death with sentries on cooldown usually ends the run.
With four players, assign two per outer door and agree before the timer starts on who calls the retreat. The new spawn system places enemies near whichever Helldiver is under low pressure, so grab the 10 samples during setup or not at all. Still building a group? Our best PS5 co-op games of 2026 and best PC co-op games of 2026 lists show why this game keeps topping them.
Faction notes
- Automatons: Hulks, Tanks and Factory Striders at the doors, plus ranged fire on anyone in a doorway. Anti-tank at the outer door, shield relay at the inner door.
- Terminids: Chargers and Bile Titans breach doors fast, and 7.1.0 added a chance of Shriekers, so keep one sentry that can aim upward. Kill Bile Titans at the outer door, before they can reach a generator.
- Illuminate: this version is called Defend Evacuation Site. Voteless crowds die at the doors; Harvesters and Overseers get through, so save the Orbital Precision Strike for them. Since 7.2.0, destroying a Crescent Overseer’s backpack kills it.
Frequently Asked Questions
What fails the Evacuate High-Value Assets mission? Losing either generator. Deaths only cost reinforcements and time; the generators do not care how many rockets have launched.
How long does the mission take after Patch 7.1.0? The patch changed wave pacing, not rocket pacing. Player reports put the launch sequence at roughly 15 to 16 minutes inside a 20-minute timer; Arrowhead has not stated a new figure.
Did Patch 7.2.0 change Evacuate High-Value Assets? Only slightly, going by Arrowhead’s notes, which list “minor combat balancing tweaks” for the mission without details. The bigger 7.1.0 changes to wave count, timing and size still apply.
Can you play Evacuate High-Value Assets solo? Yes. Waves scale down with fewer players, but two outer doors still need covering, so sentries and an early retreat do most of the work.
Where are the 10 common samples? Patch 7.1.0 randomized loot placement and scattered them around the map. Collect them during setup; leaving the walls mid-mission pulls spawns toward you.
Which stratagems got better for this mission? From 7.1.0, the Orbital Precision Strike (cooldown 90 to 80 seconds) and the One-Two’s underbarrel launcher (more grenades). From 7.2.0, the Flame Sentry (more flame damage), the Orbital Airburst Strike (cooldown 100 to 90 seconds), the Maxigun (more stagger) and the Breaching Hammer (more spare charges). All are verified against the official patch notes.