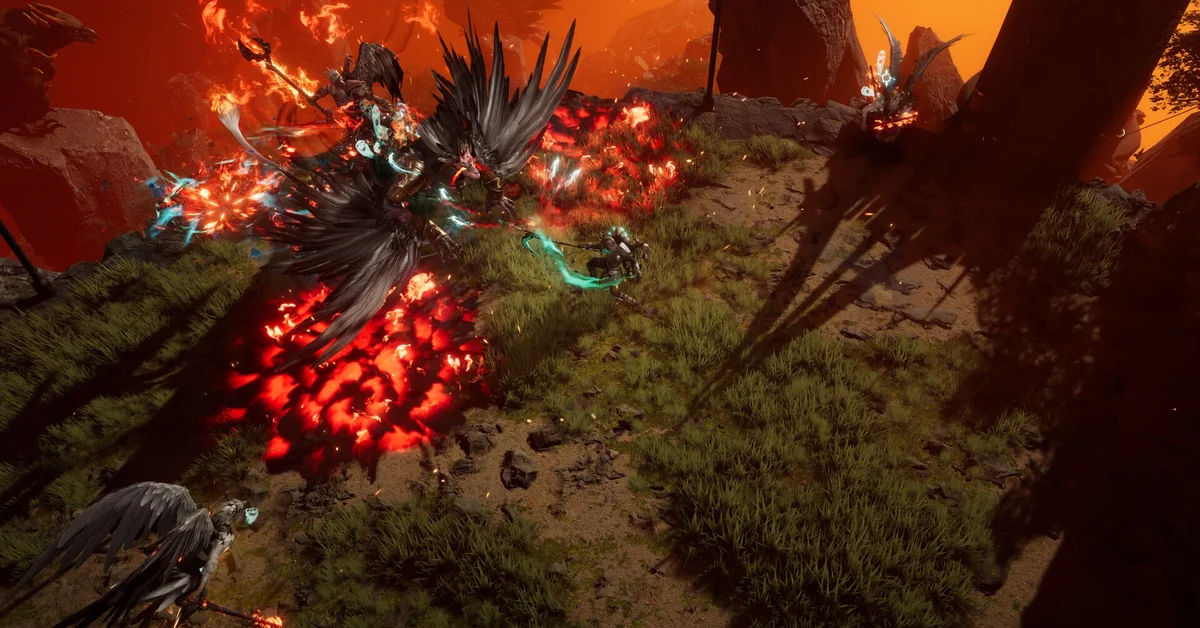
Rage of Morditas is Last Epoch’s Season 5 encounter: you touch a Blood Crystal, kill as many enemies as you can before a timer runs out to earn up to five Bloodrage Charges, survive a second wave of those same enemies, and then spend your charges at a reward crystal to claim items or reshape the rewards with a Bloody or Frozen Ritual. Every kill threshold and reward rule below is verified against the official patch 1.5 notes and the Hype Week post from Eleventh Hour Games.
It is the core loop of Season 5, Rage of the Frostborn, and it also feeds the new Morditas boss fights.
Where Rage of Morditas Spawns
Last Epoch places Rage of Morditas encounters in two places:
- The campaign, starting as early as Chapter 2.
- Monolith of Fate Echoes.
The encounter shows up as a new interactable object, the Blood Crystal. EHG says you get a message that “Anger is building up in the air” when you enter an area that has one, and it appears on your minimap as a blood ice shard. Nothing happens until you click it, so you can always choose to skip it.
Phase One: Feed the Shade
Interacting with the crystal summons a Shade of Morditas that follows you and a countdown timer appears on screen. Killing enemies extends the timer, and higher rarity enemies add more time, but the extension has a cap. Blood vapor trails point you toward the nearest enemies.
Kills earn Bloodrage Charges, shown on a meter under the minimap:
| Kills | Bloodrage Charges |
|---|---|
| 20 | 1 |
| 50 | 2 |
| 90 | 3 |
| 140 | 4 |
| 200 | 5 |
Each charge also grants a random Bloodrage buff, one of 28, that lasts for the whole encounter. EHG revealed a few, including Freezing Rage (projectiles with a high freeze rate), Coalescing Rage (blood orbs that detonate on enemies) and Reptilian Bloodrage (lizards appear nearby every few seconds). Once you pass 200 kills, the timer drains quickly.
The practical takeaway: Rage of Morditas rewards clear speed. Builds that move fast and kill packs in one hit (see our Season 5 starter builds) will reach five charges far more easily than slow single-target builds.
Phase Two: The Gauntlet of Blood and Ice
When the timer hits zero, Morditas raises an arena of blood ice around you and every enemy you killed in phase one revives to come after you. Clear them all and a Blood-Filled Crystal forms.
If phase two goes badly, the patch notes say you can end it early by leaving the combat area for 4 seconds.
Spending Charges: Claim or Ritual
The Blood-Filled Crystal shows five reward slots: four pieces of equipment and one slot that can hold keys, crafting materials, bags of resources and more. Each Bloodrage Charge does one of three things:
- Claim an item. You take it, and the panel resets with five new rewards.
- Frozen Ritual. Sacrifices the highlighted slot and rerolls the rest as the same item type. Use it on an amulet and the next set is all amulets, with a higher chance of similar affixes.
- Bloody Ritual. Banishes the highlighted slot, rerolls the rest, and blocks that item type from appearing until you claim something.
Each ritual removes a slot, so you have limited attempts before you must pick. EHG’s advice is that the more rituals you use before claiming, the better the rewards tend to be.
Two rules surprise people:
- Charges do not carry over to your next encounter.
- The rewards do. The panel only changes when you perform a ritual or claim an item, so a good set of rewards waits for you.
New Forging Potential and Exclusive Bases
Rewards from Rage of Morditas can carry two new kinds of Forging Potential:
- Ice Forging Potential (rare and exalted items made through a Frozen Ritual) has a chance to be preserved when used in crafting.
- Blood Forging Potential (rare and exalted items made through a Bloody Ritual) raises your critical success chance when crafting.
The encounter also has 18 exclusive item subtypes, all level 50, including the Veinweave Belt (4 potion slots), Icescale Greaves (movement speed plus an Evade charge) and the Bloodfused Icicle spear. Two variant Uniques can appear when the panel fully refreshes, and they can also drop from the Morditas bosses. Using a Frozen Ritual on another item rerolls the Unique’s variant affix, while a Bloody Ritual on another item can add Legendary Potential or corrupt it.
The Weaver Tree Nodes
Three new Weaver Tree nodes tune the encounter in the Monolith:
- Ubiquity of Rage makes Rage of Morditas more common in your Echoes.
- Seekers of Ice and Blood makes the encounter’s Uniques and exclusive subtypes much more common, but phase two enemies hit harder.
- Portents of Blood swaps one phase two enemy for a random Omen and drops a pile of corrupted items at the end.
How It Unlocks the Morditas Boss
Every enemy you kill during Rage of Morditas in the Monolith counts toward unlocking a chain of three special Echoes in the Nexus panel. The last, Circle of Frozen Blood, holds the Morditas fight, and beating him drops Demigod’s Ascendance, the pinnacle fight that needs 400 Corruption.
Frequently Asked Questions
Do I have to do Rage of Morditas when I find a crystal? No. The encounter only starts when you interact with the Blood Crystal.
What is the maximum number of Bloodrage Charges? Five, at 200 kills in phase one.
Do unused Bloodrage Charges carry over? No, but the rewards waiting in the crystal stay the same until you claim one or perform a ritual.
Which ritual should I use? Use a Frozen Ritual when you want more of a specific item type, and a Bloody Ritual to remove a type you do not want. Frozen gives Ice Forging Potential, Bloody gives Blood Forging Potential.
Can I find it while leveling? Yes. It can spawn in the campaign from Chapter 2.
Every guide for the season is on our Last Epoch hub. For a look at how another ARPG handles a seasonal mechanic, see our Diablo 4 Season 15 breakdown.