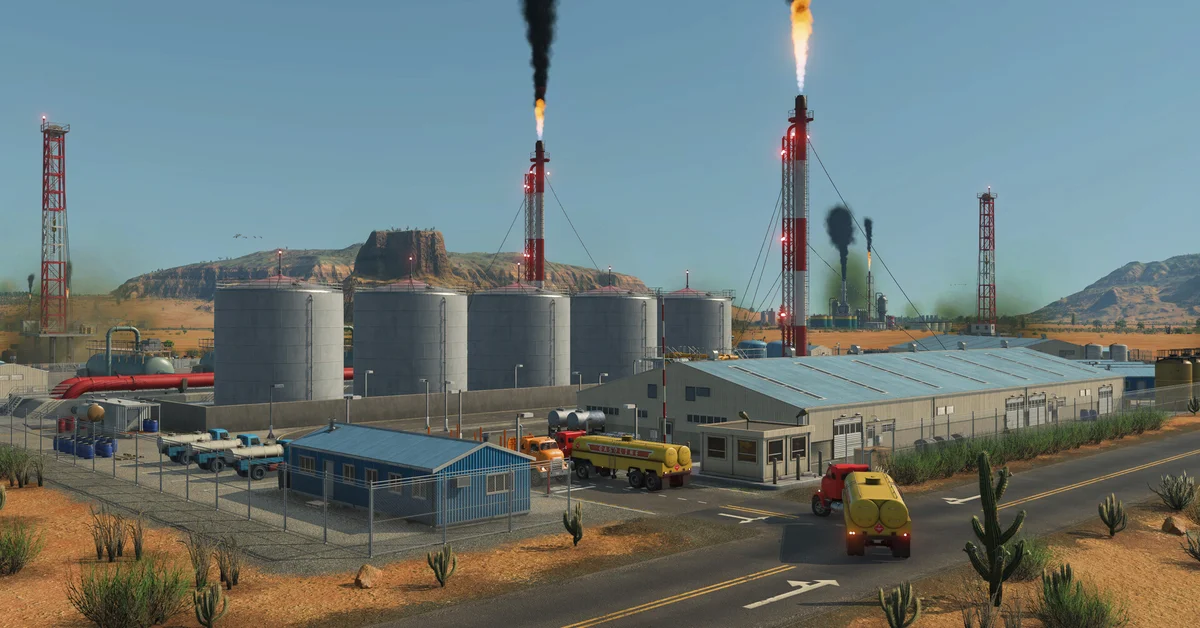
Transport Fever 3 has 36 cargo types made by 32 industries. Urban Games’ official game manual splits the cargo into 12 raw materials, 11 intermediate products, 3 booster products and 10 end products, and every chain ends with a delivery to a town’s industrial or commercial district.
Below we list every cargo type, then walk through each production chain, the climate limits that catch players out, and the booster system that is new to the series. Everything here is verified against the official manual as of launch week.
The Four Kinds of Cargo
- Raw materials come from industries that need no input: farms, mines, quarries, logging camps, oil wells and platforms.
- Intermediate products are made from other cargo and feed the next factory in the chain.
- Booster products (fertilizer, machines and tools) are delivered back to raw industries to raise their output.
- End products go to towns. Some go to the industrial district, some to the commercial district.
Some cargo does double duty. Meat and fish, for example, are wanted by commercial districts and also by the canning factory. Towns also start small: the manual says not every cargo type is demanded at the start of a map, and “once towns grow, they have additional and more complex demands.” Our town growth guide covers how to get them there.
Every Cargo Type in Transport Fever 3
| Cargo | Made by | Delivered to | Type |
|---|---|---|---|
| Beverages | Brewery | Commercial district | End product |
| Books | Printing Press | Commercial district | End product |
| Bricks | Brick Works | Industrial district | End product |
| Canned Food | Canning (Food) Factory | Commercial district | End product |
| Cement | Cement Plant | Industrial district | End product |
| Clothes | Textile Factory | Commercial district | End product |
| Fuel | Oil Refinery | Industrial district | End product |
| Furniture | Furniture Factory | Industrial district | End product |
| Vegetables | Farm | Commercial district | End product |
| Vehicles | Vehicle Factory | Industrial district | End product |
| Chemicals | Oil Refinery | Chemical Plant | Intermediate |
| Dyes | Chemical Plant | Textile Factory, Printing Press | Intermediate |
| Fabric | Weaving Mill | Textile Factory | Intermediate |
| Glass | Glass Works | Furniture Factory, Brewery | Intermediate |
| Paper | Paper Mill | Printing Press | Intermediate |
| Planks | Saw Mill | Industrial district, Furniture Factory, Tool Factory | Intermediate |
| Plastic | Chemical Plant | Tool Factory, Machine Factory | Intermediate |
| Sawdust | Saw Mill | Paper Mill | Intermediate |
| Sheet Metal | Steel Mill | Canning Factory, Vehicle Factory | Intermediate |
| Steel | Steel Mill | Machine Factory | Intermediate |
| Tires | Tire Factory | Vehicle Factory | Intermediate |
| Fertilizer | Chemical Plant | Cotton, crop and rubber farms | Booster |
| Machines | Machine Factory | Industrial district, Vehicle Factory, some raw industries | Booster |
| Tools | Tool Factory | Industrial district, some raw industries | Booster |
| Clay | Clay Pit | Brick Works | Raw |
| Coal | Coal Mine | Steel Mill | Raw |
| Crude Oil | Oil Well, Oil Platform | Oil Refinery | Raw |
| Fish | Fishing Grounds | Commercial district, Canning Factory | Raw |
| Grain | Farm | Livestock Farm | Raw |
| Iron Ore | Iron Ore Mine | Steel Mill | Raw |
| Logs | Logging Camp | Saw Mill | Raw |
| Meat | Livestock Farm | Commercial district, Canning Factory | Raw |
| Rubber | Rubber Farm | Tire Factory | Raw |
| Sand | Sand Pit, Sand Excavator | Glass Works | Raw |
| Stone | Quarry | Cement Plant | Raw |
| Wool | Cotton Farm, Livestock Farm | Weaving Mill | Raw |
The manual notes that some campaign missions use special cargo types that are not on this list.
The Main Production Chains
Steel and machines. Iron ore and coal go to the steel mill, which turns out steel and sheet metal. Steel plus plastic makes machines at the machine factory. This is the backbone chain, because sheet metal and machines both feed the vehicle factory.
Vehicles. The vehicle factory takes sheet metal, tires and machines and produces vehicles for the industrial district. The Car Imperium achievement asks for 500 vehicles from one factory in a year, so this is the chain to scale if you are hunting it.
Wood. Logs from a logging camp go to the saw mill, which makes planks and sawdust. Planks go straight to towns or on to the furniture factory (with glass) and the tool factory (with plastic).
Oil and chemicals. Crude oil from wells or offshore platforms (a natural fit for ships, per our harbors guide) goes to the refinery, which makes fuel for towns and chemicals. The chemical plant turns chemicals into plastic, dyes and fertilizer, so one refinery ends up feeding half the map.
Textiles. Wool from cotton or livestock farms goes to the weaving mill for fabric, and fabric plus dyes makes clothes at the textile factory.
Food. The farm grows grain and vegetables. Grain feeds the livestock farm, which produces meat and wool. Meat or fish plus sheet metal becomes canned food.
Building materials. Clay makes bricks at the brick works, and stone makes cement at the cement plant. Both are short chains that suit an early truck line.
Paper and books. Sawdust goes to the paper mill, and paper plus dyes becomes books at the printing press.
Climate Changes Which Chains You Get
Not every industry spawns in every climate, per the manual’s industry table:
- Paper mill and printing press: subarctic only, so books only exist on subarctic maps.
- Rubber farm and tire factory: listed for tropical maps only.
- Cement plant: tropical and subarctic.
- Brick works and clay pit: temperate and dry.
- Cotton farm: temperate and tropical.
- Fishing grounds and sand excavator: everywhere except dry maps.
- Brewery: everywhere except tropical maps.
The manual’s table does not explain how vehicle factories outside the tropics source tires, so check the input list in the industry window on your own map before planning that chain. Playing all four climates is also the Globetrotter achievement.
Boosters: Workers and Cargo
Every industry can be boosted by a passenger line that brings workers to it. If enough workers arrive often enough, throughput rises; if they stop coming, the boost stops.
Raw industries have a second booster. Deliver the right booster cargo and production rises for as long as the stock lasts:
- Fertilizer: cotton farm, crop farm, rubber farm
- Machines: logging camp, iron ore mine, oil well, sand excavator
- Tools: clay pit, coal mine, fishing grounds, oil platform, quarry, sand pit
Raw industries that are served well also grow on their own by adding fields, shafts or plots nearby, so leave them room.
Rules That Cost Players Money
- Uncollected cargo is destroyed. Production continues when the output stock is full, and the excess is thrown away.
- Unused industries close. An industry you do not own can be flagged if it has produced and shipped nothing for 10 years, then removed after a 730-day countdown. Serving it again stops the countdown.
- Delivery time matters. Each cargo type has an expected delivery time, and late drop-offs lower the town rating. Specialized warehouses freeze that timer.
- Match wagons to the category. Cargo is split into Goods, Bulk, Liquid and Flatbed, the same four specializations used by warehouses and cargo terminals.
For how each type pays, see our money guide. New players should start with our beginner tips, and the vehicle list covers which trucks, wagons and ships carry what. Every guide is on our Transport Fever 3 hub.
Frequently Asked Questions
How many cargo types are in Transport Fever 3? 36 in free game mode: 12 raw materials, 11 intermediate products, 3 booster products and 10 end products, per the official manual.
How many industries are there? 32 in free game mode. Some campaign missions add their own.
Does distance increase cargo income? No. Urban Games says each cargo type pays the same regardless of distance, as long as it arrives within its time limit.
Why is my factory not producing? Processing industries need cargo in their input stock before they start. Check the Input Stocks section of the industry window for what is missing.
Can I choose which town my cargo goes to? Yes. Cargo stays at the industry until a line picks it up, and where it goes is up to you.