
To change your crosshair in GTA 6 on PS5, press Options, open Settings, press R1 until you reach the UI tab, and scroll down to the Reticle section. Reticle Size and Reticle Shape change the crosshair itself, and six more lines there control how visible it is and what shows up around it.
We read every option below off the Settings screen on our PS5 copy of Grand Theft Auto VI. The screenshots in this guide are from our own PS5 recordings.
How to Find the Crosshair Settings
- Press Options to open the pause menu, then pick Settings, the last of Map, Game, Store, Help, Photo Studio and Settings.
- Press R1 to move along the tabs until UI is highlighted. It’s the fifth of eight tabs, after Control Scheme, Controller, Gameplay and Display, and L1 moves back.
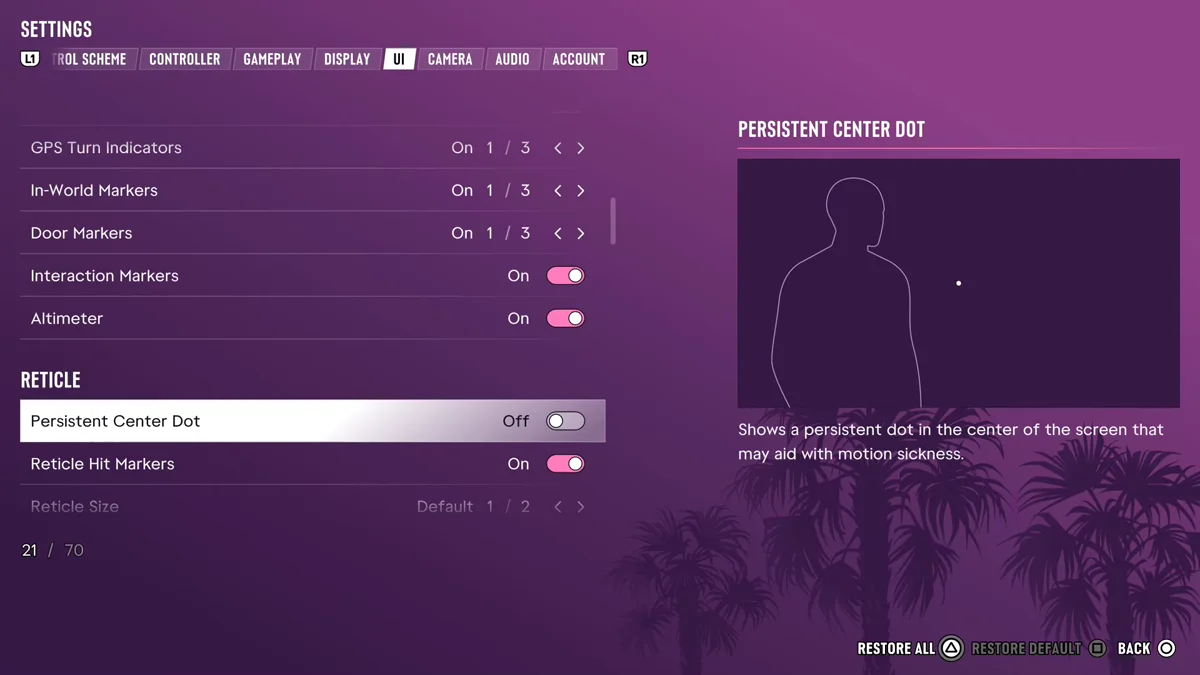
- Scroll down past the navigation options, such as GPS Turn Indicators, Door Markers and Altimeter. The Reticle heading starts at option 21 of the tab’s 70.
- Highlight an option and press left or right to change it. The count beside a choice, such as 1 / 4, shows how many settings it has, and the panel on the right explains the line you’re on.
Every Reticle Option
The section has eight lines. Here they are with the game’s own description of each and the setting each one was on in our copy:
| Option | What the game says it does | Our setting |
|---|---|---|
| Persistent Center Dot | “Shows a persistent dot in the center of the screen that may aid with motion sickness.” | Off |
| Reticle Hit Markers | “Shows hit markers around the reticle when damaging targets.” | On |
| Reticle Size | “The size of the weapon reticle displayed on screen.” | Default (1 of 2) |
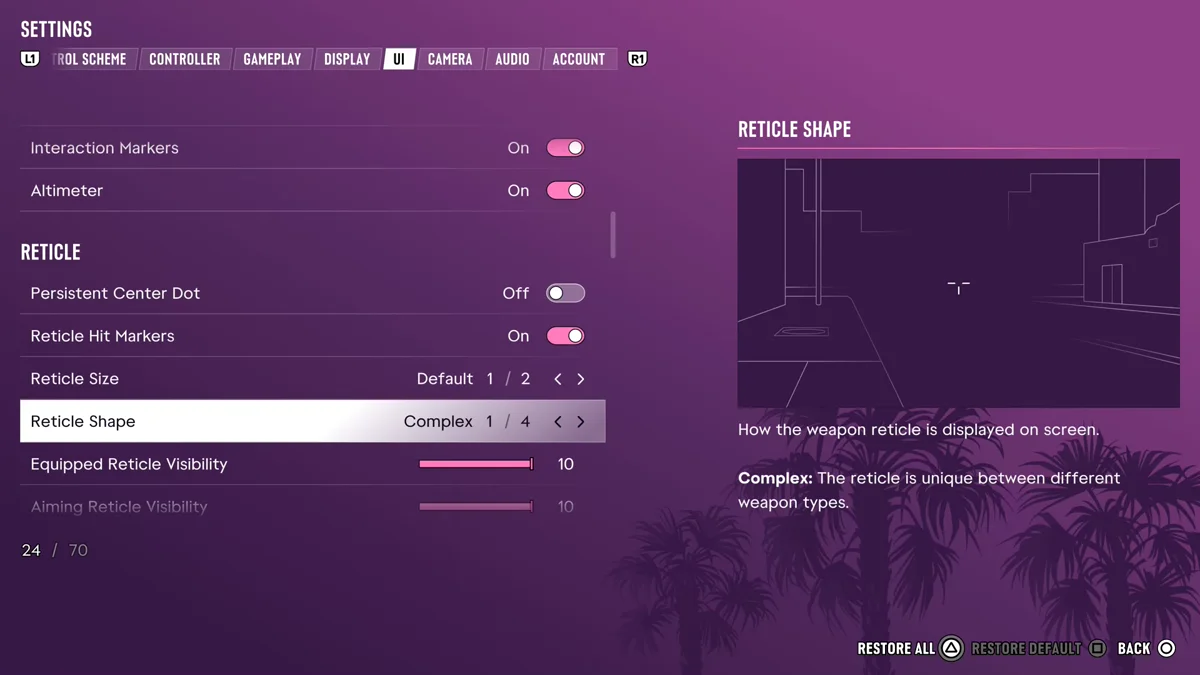
| Reticle Shape | “How the weapon reticle is displayed on screen.” | Complex (1 of 4) |
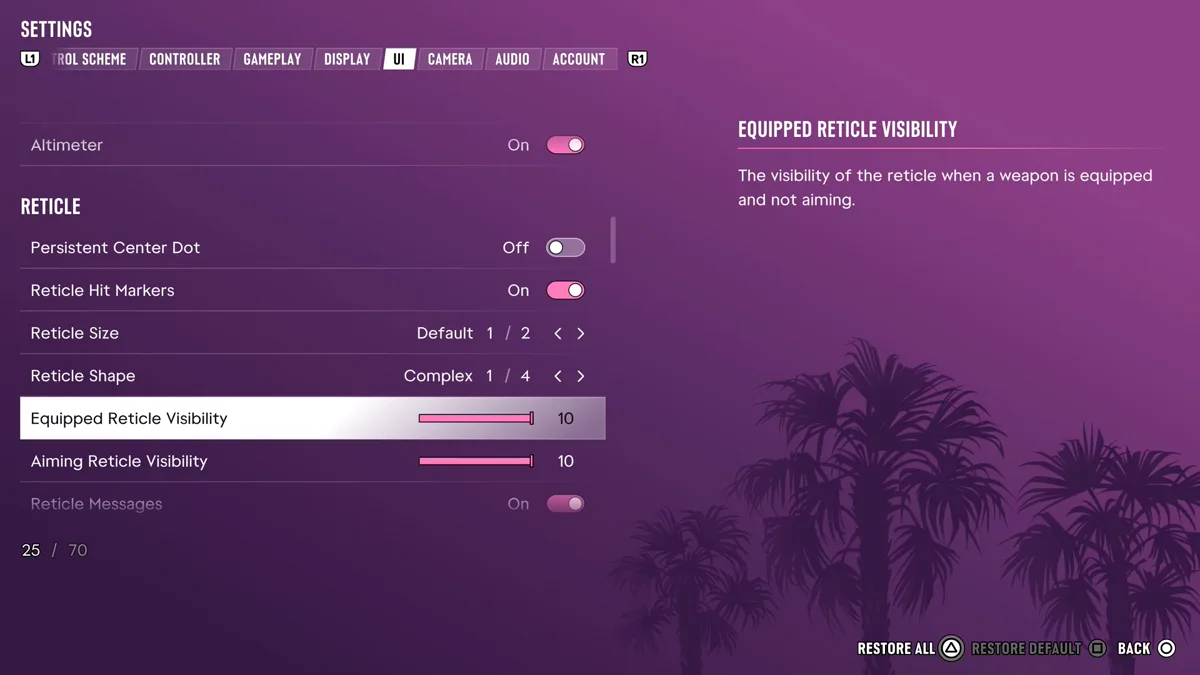
| Equipped Reticle Visibility | “The visibility of the reticle when a weapon is equipped and not aiming.” | 10 |
| Aiming Reticle Visibility | “The visibility of the reticle when aiming.” | 10 |
| Reticle Messages | “Displays score updates near the reticle during activities, such as at shooting ranges.” | On |
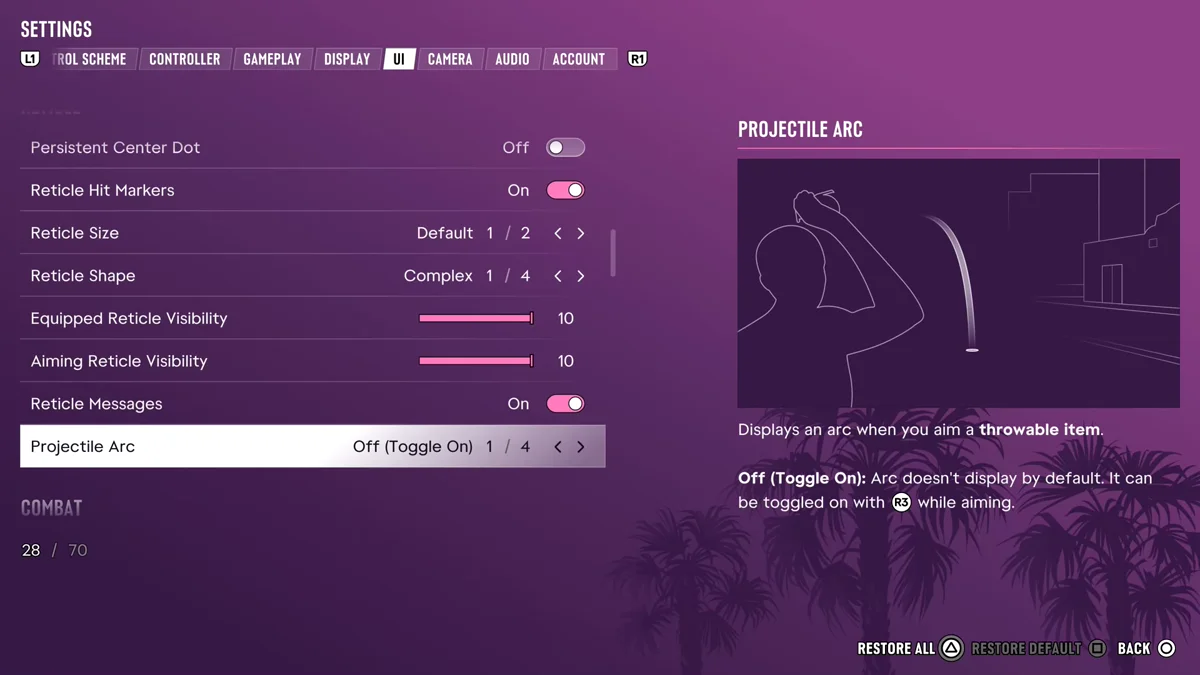
| Projectile Arc | “Displays an arc when you aim a throwable item.” | Off (Toggle On), 1 of 4 |
Reticle Size and Shape
These two change the crosshair itself. Reticle Size has two settings, and ours was on Default. Reticle Shape has four, and ours was on Complex, which the panel describes this way: “The reticle is unique between different weapon types.” So on Complex, the crosshair looks different from one type of weapon to the next.
The panel on the right describes whichever setting you’re on, as it did for Complex, so step through the other three shapes and read each one before you settle on a crosshair.
Making the Crosshair Fainter
Two sliders set how visible the crosshair is. Equipped Reticle Visibility covers the times you have a weapon out but aren’t aiming, and Aiming Reticle Visibility covers the times you’re holding L2 to aim. Both were at 10 on our copy, with the bar full. Turn one down if you want a fainter crosshair in that situation, and leave the other where it is.
If your crosshair seems to drift onto targets by itself, that isn’t the reticle settings. That’s the aim help, Targeting and Aim Assist Strength, which our lock-on guide explains.
A Center Dot for Motion Sickness
Persistent Center Dot keeps a dot in the middle of the screen, and the game says it “may aid with motion sickness.” It was off on our copy. If the camera makes you queasy, turn it on along with the Camera tab’s comfort options, Weapon Sway, Camera Shake and Camera Bob, which our best settings guide covers.
Hit Markers, Messages and the Throw Arc
- Reticle Hit Markers shows markers around the crosshair when you damage a target. Turn it off if you’d rather keep the screen clean.
- Reticle Messages shows score updates next to the crosshair during activities, and the game names the shooting ranges as one example. Our shooting range guide covers where to find one.
- Projectile Arc draws an arc when you aim a throwable item. Ours was on Off (Toggle On), the first of four settings, which the panel explains this way: “Arc doesn’t display by default. It can be toggled on with R3 while aiming.” So on that setting, click the right stick while you aim a throwable to bring the arc up. R3 is also Zoom / Throw Path on the Aiming controls in our PS5 controls guide.
Undoing a Change
The bottom of the screen lists three buttons. Square is Restore Default, which puts the highlighted line back to its default, Triangle is Restore All, and Circle backs out. Restore All reaches beyond the line you’re on, so use Square when you only want to undo one change.
For the rest of the menu, our guide to turning on subtitles works through the same Settings screens, and every other guide is on our GTA 6 hub.
Frequently Asked Questions
How do you change the crosshair in GTA 6?
Press Options, open Settings, move to the UI tab with R1, and scroll down to the Reticle section. Reticle Size and Reticle Shape change the crosshair itself.
Can you change the crosshair color in GTA 6?
The Reticle section has no color option. Its eight lines cover the center dot, hit markers, size, shape, two visibility sliders, score messages and the throw arc.
How do you get a center dot in GTA 6?
Turn on Persistent Center Dot at the top of the Reticle section in the UI tab. It keeps a dot in the middle of the screen, and the game says it may aid with motion sickness.
Why does my crosshair change between guns in GTA 6?
That’s the Complex setting of Reticle Shape, where “the reticle is unique between different weapon types.” Step through the other three shapes in the UI tab if you want something else.
How do you show the throw arc in GTA 6?
With Projectile Arc on Off (Toggle On), click R3 while you aim a throwable item. Projectile Arc has three other settings in the Reticle section of the UI tab.